
Quick Start Guide
Use this guide for a brief overview of using the system
Prerequisite
Welcome to the JBDental Portal before we start with introducing you to the wonderful system we have we must go over three important things before using the portal:
- Firstly, for the time being you must have previously contacted JBDental to create your account.
- Secondly, Another important factor is that you must be using a modern browser (Chrome, Firefox, Edge, etc) and have it up to date as older browsers will not be supported. Mobile will be supported whenever possible but for the time being will be in a good enough state.
- Lastly, the system is ever changing and will be continually updated to better suit your needs and the needs of JBDental Lab. Expect that new features will appear and few bugs will make it through.
Now that we have what we need to use the app, lets go over the first step logging in.
Login
To access the portal is a matter of first navigating to the login page located at https://www.portal.jbdentalaz.com/login assuming you have not already logged in. There you should use your username and password provided for you or that you generated yourself when you started working with JBDental Lab.
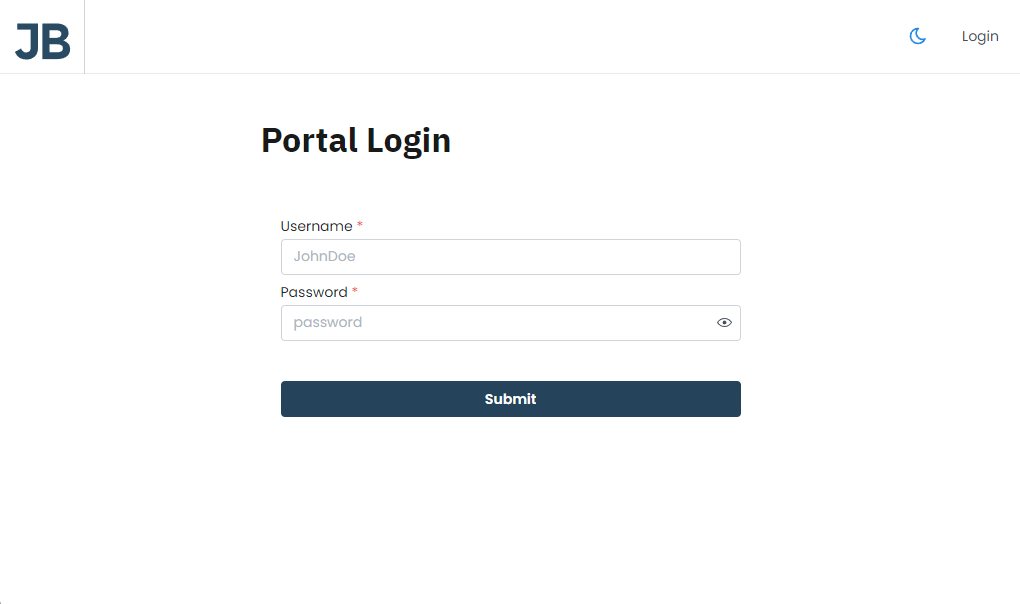
If any problems arise feel free to contact JB
The username and password is also the same one used to login to the payments portal located at https://portal.justbetter.jbdentalaz.com/Portal/login.aspx .
App Layout and Navigation
As soon as you login you should be redirected to the patient page where you can see the patients you have for your office. If you havent created a patient if should show nothing for now.
On the Top Bar you should see the supporting functionality from left to right we have:
- JB Logo
- Light / Night Mode
- Notifications (WIP)
- User Menu
On the Side Bar you should see a variety of icons linking to different pages in the site. They are from Top to Bottom
- Home
- Patients
- Feedback
- Help
- Settings (WIP)
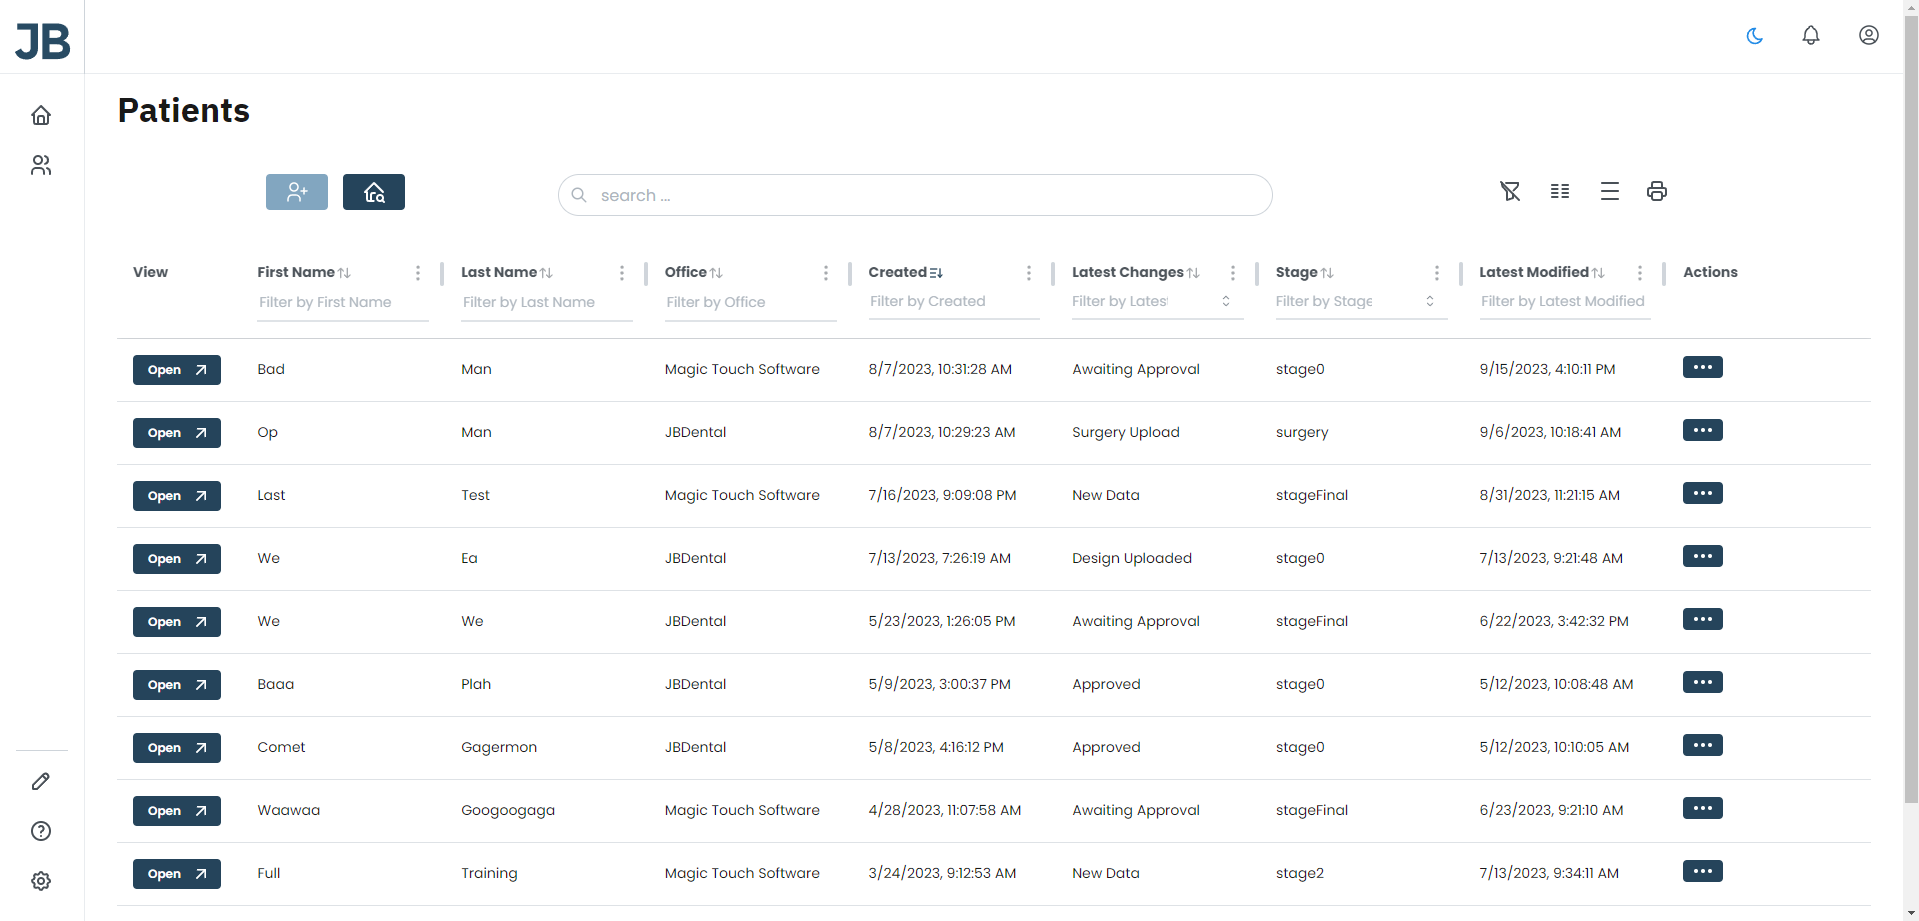
Right now the main functionality lies within Patients with everything supporting it and the Home page serving as a hub with some useful information on it. Have a look around and see what goes into the app and once you are done come back and we will go into creating your first patient.
Creating A Patient
Navigate to the patients page and click the create patient button (top left button) as soon as you do that you will be brought to the create patient page. Fill out the first name, last name and chart num. Chart Num is optional but we recommend you add one for your own sake. As soon as you submit you will be redirected to the patients page and it will be created.
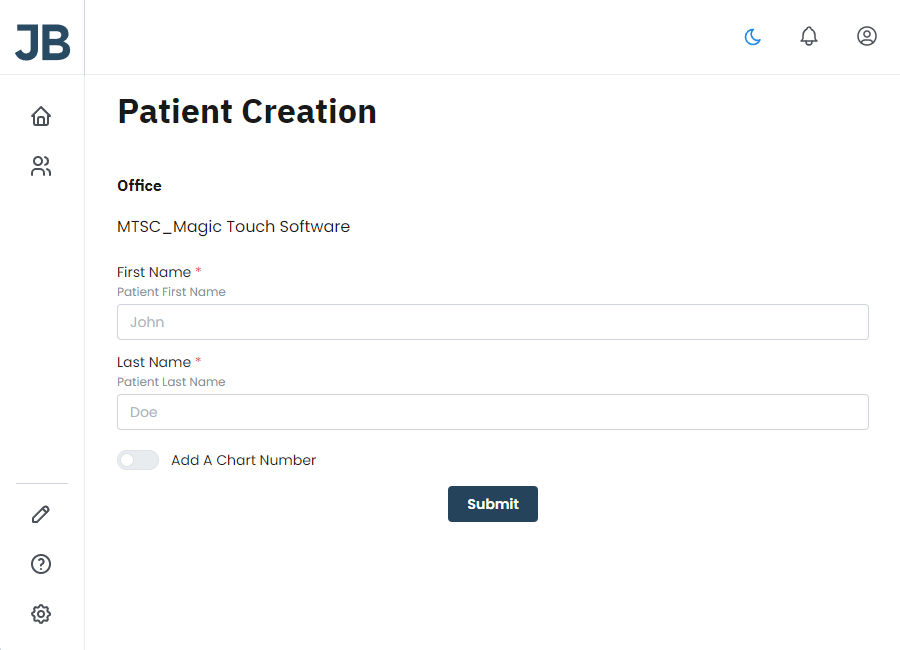
Chart Number is an optional field at the moment but we recommend adding it for your internal processes.
The system will flag if you have a duplicate patients, if they are not the same patient try giving it a different chart number.
Creating a Hybrid Case
From the patients page to create a case you must click the open button for the particular patient. This will bring you to the patient dashboard and you will see the following options on the dash and on the sidebar.
- Dashboard- overview information for patient
- Hybrid- the main page for hybrid cases
- External- extra information about non portal cases
- Activity- contains all the activity for the patient
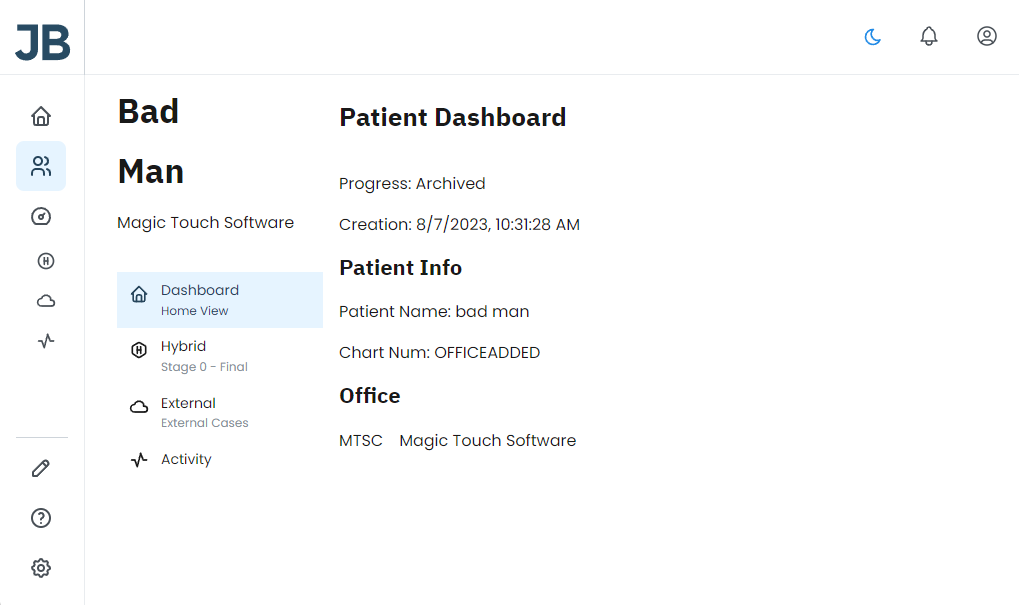
Feel free to click around and then once you want to create a case click on hybrid and click the stage you want to create. The most of the hybrid stages follow a 2 stage submission process. First you fill out the case information form then you upload the files. For this guide we will go over stage 0.
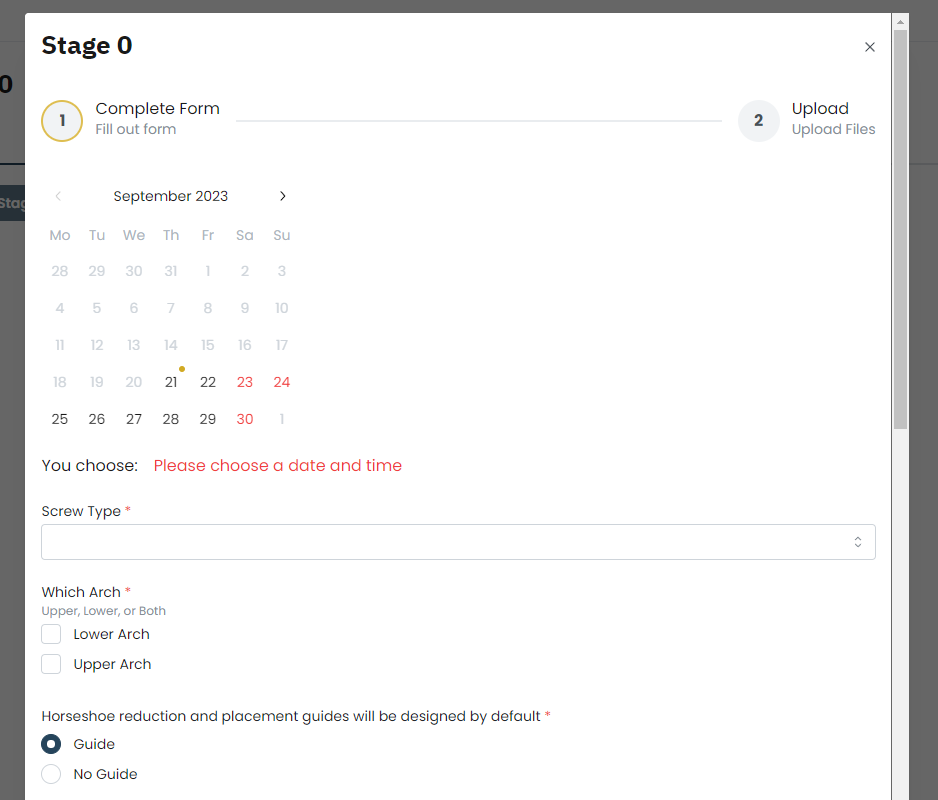
Step 1: Submit Form
Filling out the form starts with clicking the new stage 0 button located right below the stage selector bar. This will open up the form go through it and fill it out as appropriate.
Step 2: Upload Files
After filling out the form you will be prompt to upload the required documents for that stage. Please upload them as per the upload guidelines set here and most likely on the upload page itself

After that you are done with the creating and upload process of a hybrid case.
If any problems arise feel free to contact JB
The username and password is also the same one used to login to the payments portal located at https://portal.justbetter.jbdentalaz.com/Portal/login.aspx .
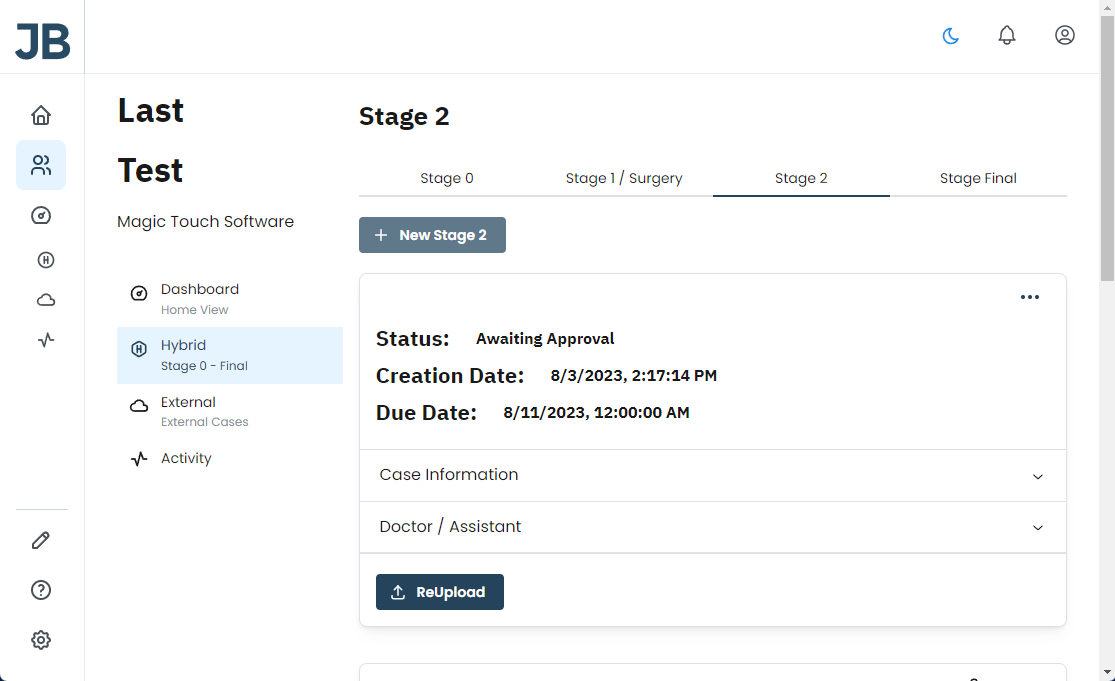
Wait for Approval / Other Actions
After uploading you are ready for approval. If you forgot to upload files feel free to click the reupload files button and if you need to leave any additional comments feel free to click additional comment button. A few other actions such as downloading the files and downloading the pdf of the case are also available now under the triple ... button. After approval the team may or may not leave the design files for you to download.
Next Steps
- Continue creating patients
- Continue creating cases
- Contact the Lab / Leave Feedback
- View other help pages